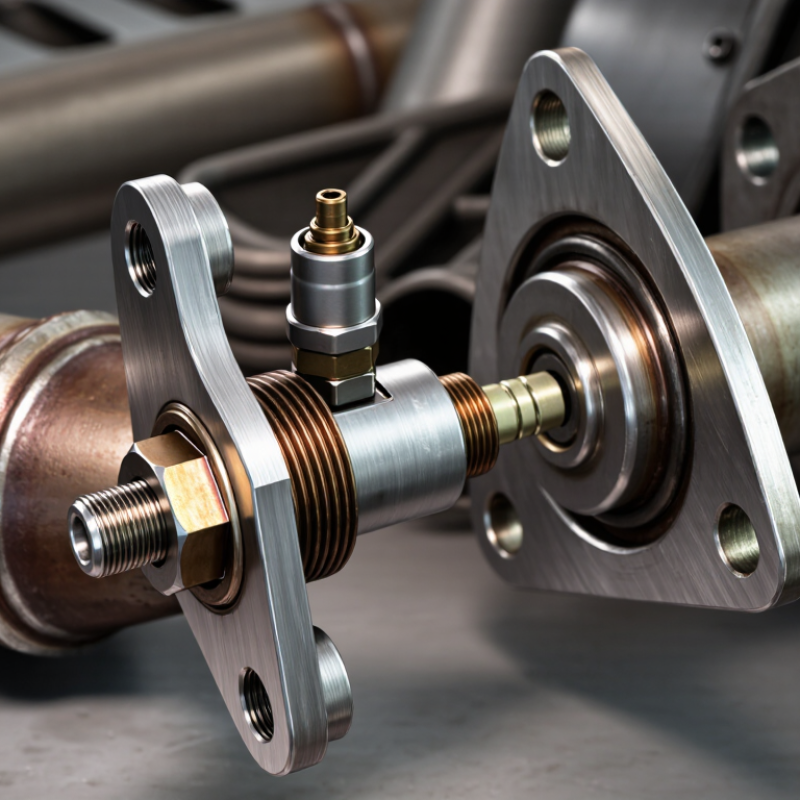
| 1. Confirm the sensor thread | Internal thread of the adapter | M18 × 1.5 is the most common oxygen-sensor thread size; M12 × 1.25 and other sizes may occur on specialized applications. | Match the adapter’s female thread to the sensor’s male thread. Do not assume that all oxygen sensors use the same thread. | Check the sensor service data or measure the outside diameter and thread pitch with a thread gauge before ordering. |
| 2. Match the exhaust-port thread | External thread of the adapter | Usually the same nominal thread as the original sensor port, commonly M18 × 1.5. | Choose an adapter with an external thread that matches the threaded bung, exhaust pipe, catalytic converter, or manifold. | Compare the adapter specification with the vehicle’s replacement sensor and the existing threaded port; never force mismatched threads. |
| 3. Verify thread pitch | Distance between adjacent thread peaks | For M18 × 1.5, the pitch is 1.5 mm per thread; a different pitch will not screw in correctly even when the diameter appears similar. | Select the exact diameter-and-pitch combination, such as M18 × 1.5, rather than choosing by diameter alone. | Use a metric thread-pitch gauge or confirm the pitch from a reliable repair manual or component specification. |
| 4. Select the correct adapter depth | Overall length and internal cavity depth | Short adapters commonly measure about 15–25 mm overall; extended designs may be approximately 35–60 mm, depending on the application. | Use the shortest design that provides the required clearance and sensor positioning. Excessive length can reduce ground clearance or contact nearby parts. | Measure available space around the sensor, including heat shields, wiring, the vehicle floor, and suspension components. |
| 5. Check sensor-tip clearance | Internal bore diameter and usable cavity | The sensor tip must fit without touching the adapter; the exact clearance depends on the sensor body and sensing-element design. | Choose a straight-through or recessed style only when its internal dimensions accommodate the complete sensing tip. | Compare the adapter’s internal bore and depth with the sensor dimensions. Ensure the sensing element is not blocked or pressed against the adapter. |
| 6. Choose suitable material and finish | Temperature resistance and corrosion protection | Exhaust components experience high heat, thermal cycling, moisture, and corrosive gases; stainless steel is commonly selected for improved corrosion resistance. | Use a heat-resistant metal adapter with clean, accurately formed threads. Avoid materials or coatings not rated for exhaust temperatures. | Review the stated material, temperature rating, and thread quality. Inspect for cracks, damaged threads, or coating that could interfere with installation. |
| 7. Confirm installation and sealing requirements | Seat type, wrench size, and sealant compatibility | Adapters may use a tapered seat, gasket, or metal-to-metal shoulder. Oxygen-sensor threads should not be contaminated with ordinary sealants or anti-seize on the sensing tip. | Choose the correct seat and tool-access design, and follow the sensor and vehicle torque instructions. | Start all threads by hand, tighten to the specified torque, route the wiring away from hot or moving parts, and check for exhaust leaks after installation. |